SUNDI TOOLS
- Copyright © Wuxi Sundi Precision Tools Co.,LTD All rights reserved.
- Site Map
Choosing an Arc MMA Welder in 2026 is about more than comparing amperage on a product page. The right machine should suit your materials, power supply, work location, and experience level. A compact inverter may be easier to carry to a repair site, while a heavier unit may better suit a fixed workshop. Check practical details, too: usable current range, duty cycle, electrode compatibility, lead length, and protection against dust or heat. Small omissions matter. A short cable can turn a simple repair into awkward work.
Demand for skilled welding remains relevant to buyers weighing equipment and training needs. The U.S. Bureau of Labor Statistics projects 2% employment growth for welders, cutters, solderers, and brazers from 2023 to 2033, with about 45,800 openings annually. The American Welding Society has also forecast a need for 330,000 welding professionals by 2028. These figures describe workforce demand, not a guarantee that any particular welder will perform well. Real work is messy.
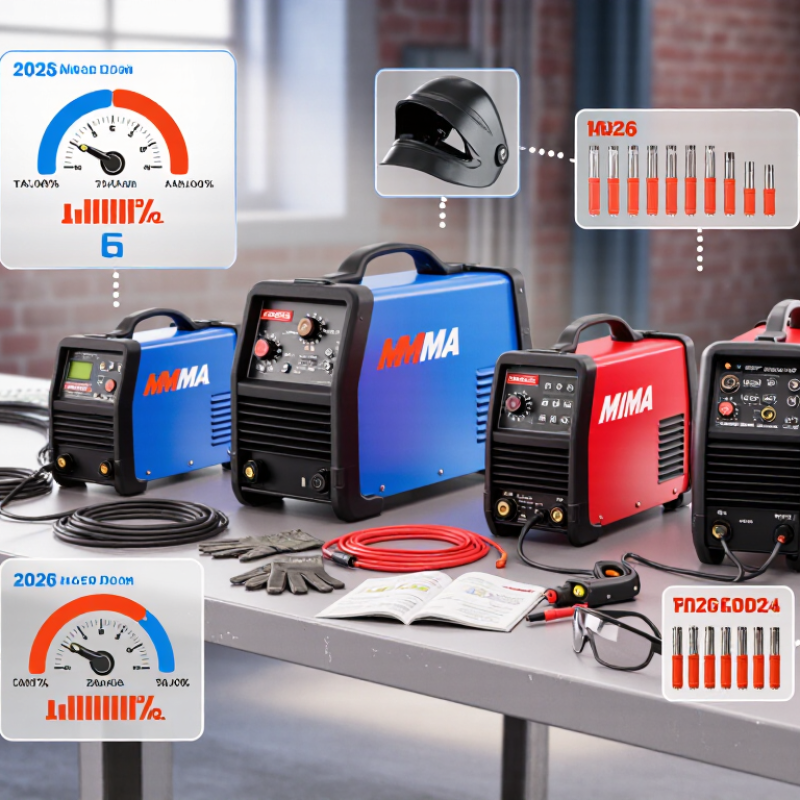
This guide compares seven arc MMA welders for buyers in 2026, focusing on features that can be checked against real tasks rather than marketing claims. We consider portability, output control, stated duty cycle, usability, and value, while recognizing that results also depend on setup and operator technique. No single model fits everyone. Read the specifications carefully, and match them to the jobs you actually expect to do.
Arc MMA welding, often called stick welding, uses a flux-coated electrode. An electric arc melts the electrode and base metal, while the flux creates shielding and protective slag. The operator guides the rod by hand. Simple in concept. Skill still matters.
This process suits repairs to farm equipment, steel frames, gates, and construction materials. It can work outdoors better than some gas-shielded methods because light wind is less disruptive. With suitable electrodes, it can join mild steel, some stainless steels, and cast iron. Results depend on electrode choice, current, polarity, and joint fit. Remove rust and paint near the weld; contamination can cause porosity or poor fusion. It is not magic.
MMA equipment is often portable and straightforward to maintain, which helps in tight or remote work areas. Short electrodes and frequent changes can slow production, especially on thin sheet metal. Beginners may struggle with starting the arc, avoiding a stuck rod, and maintaining a steady travel angle. A few practice beads on scrap can reveal more than a dial setting alone. Wear a welding helmet, gloves, and flame-resistant clothing, and clear nearby combustibles. Let the slag cool before removing it. Even a neat bead deserves inspection.
When comparing MMA welders, match the output range to your electrodes and typical workpiece thickness. A 160-amp maximum means little if the machine overheats during longer passes. Check the duty cycle at the stated current, not only the headline amperage. IEC 60974-1 uses a 10-minute rating period, which helps make duty-cycle figures comparable. Small detail. Big difference.
Also compare input voltage, weight, and cable length against your actual work area. A compact unit may be easier to carry up stairs, but short leads can make positioning awkward. Look for clear controls, thermal protection, and a stable arc. Hot start can help strike an electrode; arc-force control may reduce sticking. These functions are useful, though they cannot replace correct electrode choice and technique.
The American Welding Society’s 2023 welding workforce report projected a need for about 330,000 new welding professionals in the United States by 2028. That is workforce context, not a machine-buying specification, but it highlights why simple setup and repeatable starts matter in training and repair settings. For work near people or in damp areas, check whether the unit has a voltage-reduction device and follow its operating instructions. A feature list can look impressive. Compare the ratings carefully.
| Welder type | Typical input power | Typical output range | Electrode range* | Key features to compare | Best suited to | Important trade-off |
|---|---|---|---|---|---|---|
| Compact 120 V inverter | 120 V single-phase | About 20–120 A | Typically up to 3/32 in (2.5 mm) | Input-current requirement, low-end arc stability, thermal protection, and duty cycle at the intended amperage | Light repairs, small projects, and locations with standard household power | Limited output can make larger electrodes and sustained welding difficult. |
| Dual-voltage portable inverter | 120 V or 230/240 V single-phase | About 20–160 A, depending on input voltage | Commonly up to 1/8 in (3.2 mm) on suitable input power | Output available on each voltage, plug and circuit requirements, voltage protection, and included input leads | Buyers who need portability and access to more than one power supply | Maximum output is usually lower on 120 V than on 230/240 V. |
| 230/240 V general-purpose inverter | 230/240 V single-phase | About 30–200 A | Often up to 5/32 in (4.0 mm), subject to machine rating | Rated output, duty cycle, open-circuit voltage, arc-force adjustment, and input amperage | Home workshops, farm repairs, and general maintenance work | Requires a compatible higher-voltage outlet and circuit. |
| High-output 230/240 V inverter | 230/240 V single-phase; check required circuit capacity | About 40–250 A | May support 5/32 in (4.0 mm) electrodes; confirm the rated range | Duty cycle at higher currents, input-current draw, thermal overload protection, and lead capacity | Frequent repair work and applications needing higher amperage | A high maximum-amp figure does not guarantee long welding periods at that output. |
| Generator-compatible inverter | Usually 120 V and/or 230/240 V; generator requirements vary | About 20–200 A, depending on model and supply | Typically 3/32–5/32 in (2.5–4.0 mm), within rated output | Specified generator output, power quality requirements, input current, and protection against voltage fluctuations | Outdoor maintenance and remote work where mains power is unavailable | Generator compatibility must be confirmed in the welder manual; a generator’s advertised wattage alone may not be sufficient. |
| MMA inverter with lift-TIG capability | Commonly 230/240 V; some models also accept 120 V | About 20–200 A in MMA mode; verify mode-specific limits | Often up to 5/32 in (4.0 mm) in MMA mode, depending on output | Lift-TIG mode, torch and gas compatibility, mode-specific controls, and whether accessories are included | Buyers wanting MMA plus occasional TIG capability in one machine | Lift-TIG capability does not necessarily include a torch, gas equipment, or advanced TIG controls. |
| Heavy-duty industrial MMA power source | Often 230/240 V or three-phase input; model dependent | About 200–300 A or higher on suitable supplies | May support larger electrodes; follow the machine’s rated electrode and output specifications | Duty cycle, supply phase, service requirements, cooling, output connectors, and compliance documentation | Production, structural, or industrial work requiring sustained high output | Higher installation and power-supply demands make it unnecessary for many occasional users. |
*Electrode sizes are indicative, not guaranteed operating limits. Actual capacity depends on the welder’s rated output, electrode type, joint, material, and operating conditions. Duty-cycle ratings should be compared at the same output current and rating standard; always check the machine’s specification sheet and input-power requirements before purchase.
Choosing among seven arc MMA welders means comparing more than maximum amperage. Check input voltage, rated duty cycle, electrode range, cable length, and thermal protection. A high amperage figure can look impressive, but it says little about how long a machine sustains output. Compare duty-cycle ratings at the same current and test conditions. Also consider whether the welder suits your available power supply and typical plate thickness.
Small details matter. Hot-start and arc-force controls can help with striking and maintaining an arc, while anti-stick features may reduce electrode frustration. Still, control labels do not guarantee a smooth weld; electrode choice and operator technique matter too. For a fair comparison, use the same electrode size and steel thickness with each machine. Record arc stability, spatter, and how warm the cables become. Datasheets cannot fully predict those shop-floor differences, so treat published specifications as a starting point, not a verdict.
Tips: Check ventilation before welding. The NIOSH Pocket Guide lists manganese exposure limits of 1 mg/m³ as an eight-hour recommended limit and 3 mg/m³ as a short-term limit. Welding fumes vary by process and material, so use suitable ventilation and follow the applicable safety guidance. Also inspect the ground clamp and leads; a poor connection can make a capable welder feel inconsistent.
Choosing an arc welder starts with the work in front of you, not the largest amperage number on a product label. For occasional repairs on a steel gate or bench, a simple stick machine with stable low-current control may be easier to learn. Beginners should check whether it supports common electrode sizes and offers a clear amperage adjustment. Small details matter. A rough arc can make thin material frustrating.
Match the machine to your power supply and projects. A 120/240-volt unit offers flexibility, but confirm your outlet and circuit capacity before buying. Check the duty cycle, too: it tells you how long the welder can operate within a measured period. For thicker stock or longer sessions, greater output and cooling time may matter more than portability. Budget for a helmet, gloves, suitable electrodes, and ventilation—not just the machine. A low purchase price can mislead.
Skill and value deserve equal attention. The U.S. Bureau of Labor Statistics reports a 2% employment-growth projection for welders from 2023 to 2033, and a May 2023 median annual wage of $48,940. Those figures do not set a machine budget, but they underline the value of building sound skills. A machine cannot replace practice. Beginners often regret buying more power than their household circuit or projects can use; experienced users may regret limited duty cycle. The right choice is rarely perfect. It should fit the material, available power, and jobs you actually expect to tackle.
A safe setup begins before the arc. Place the welder on a stable, dry surface with clear space around its vents. Keep the work area free of rags, solvents, and other flammable materials. Check that the power supply matches the machine’s rating, and use a properly grounded outlet. A quick glance is not enough. Inspect the electrode holder, work clamp, and cables for cracked insulation, loose connections, or heat damage. Replace damaged parts before striking an arc.
Wear a correctly rated welding helmet, gloves, protective clothing, and closed-toe leather footwear. Cover exposed skin; arc flash can burn skin as well as eyes. Keep bystanders behind a suitable welding screen, and arrange ventilation that carries fumes away from your breathing zone. Make sure a suitable fire extinguisher is accessible. After welding, check nearby surfaces for sparks or smoldering material. This step can feel repetitive, but skipping it is a poor trade.
Long service life depends on small, regular checks. Unplug the unit and let it cool before cleaning dust from its exterior vents. Never open an energized welder. Follow the manual for duty-cycle limits; forcing long welds can trigger overheating and shorten component life. Store cables loosely, away from sharp edges and moisture, and clean spatter from the holder and clamp. I might be tempted to postpone a worn-cable check when a project is nearly done. That is exactly when a pause is useful. Have a qualified technician handle internal repairs or recurring faults.